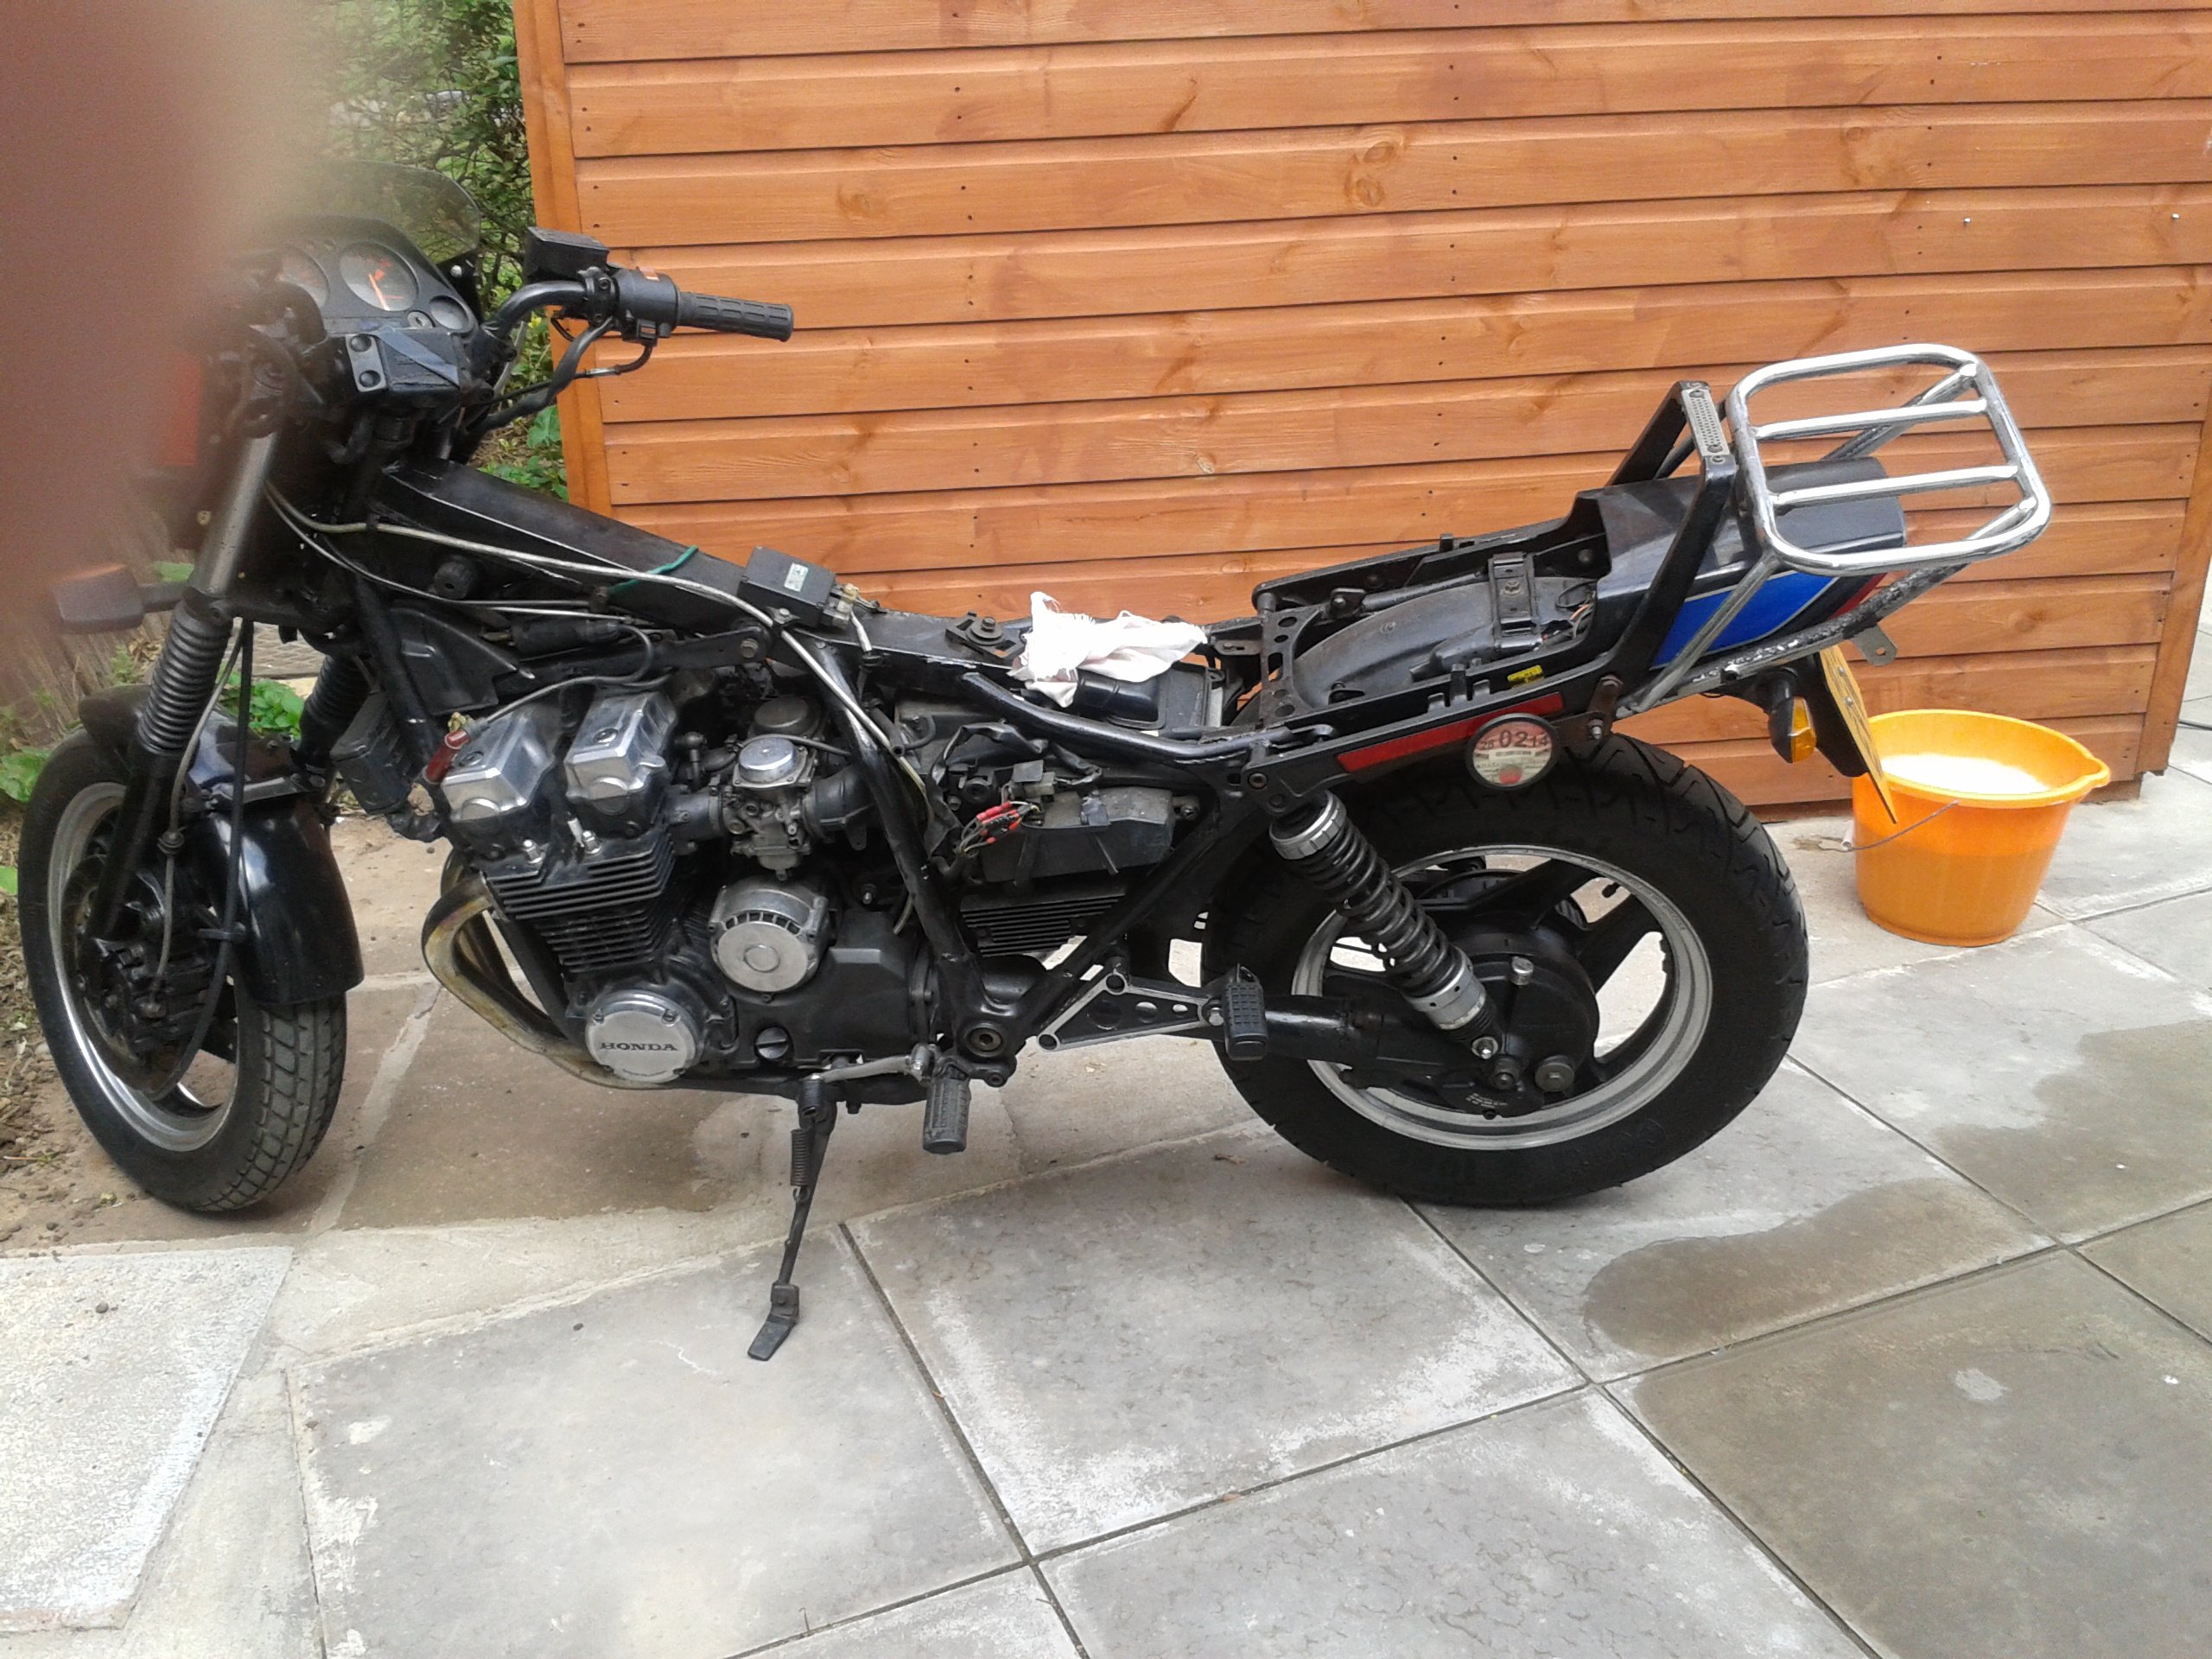
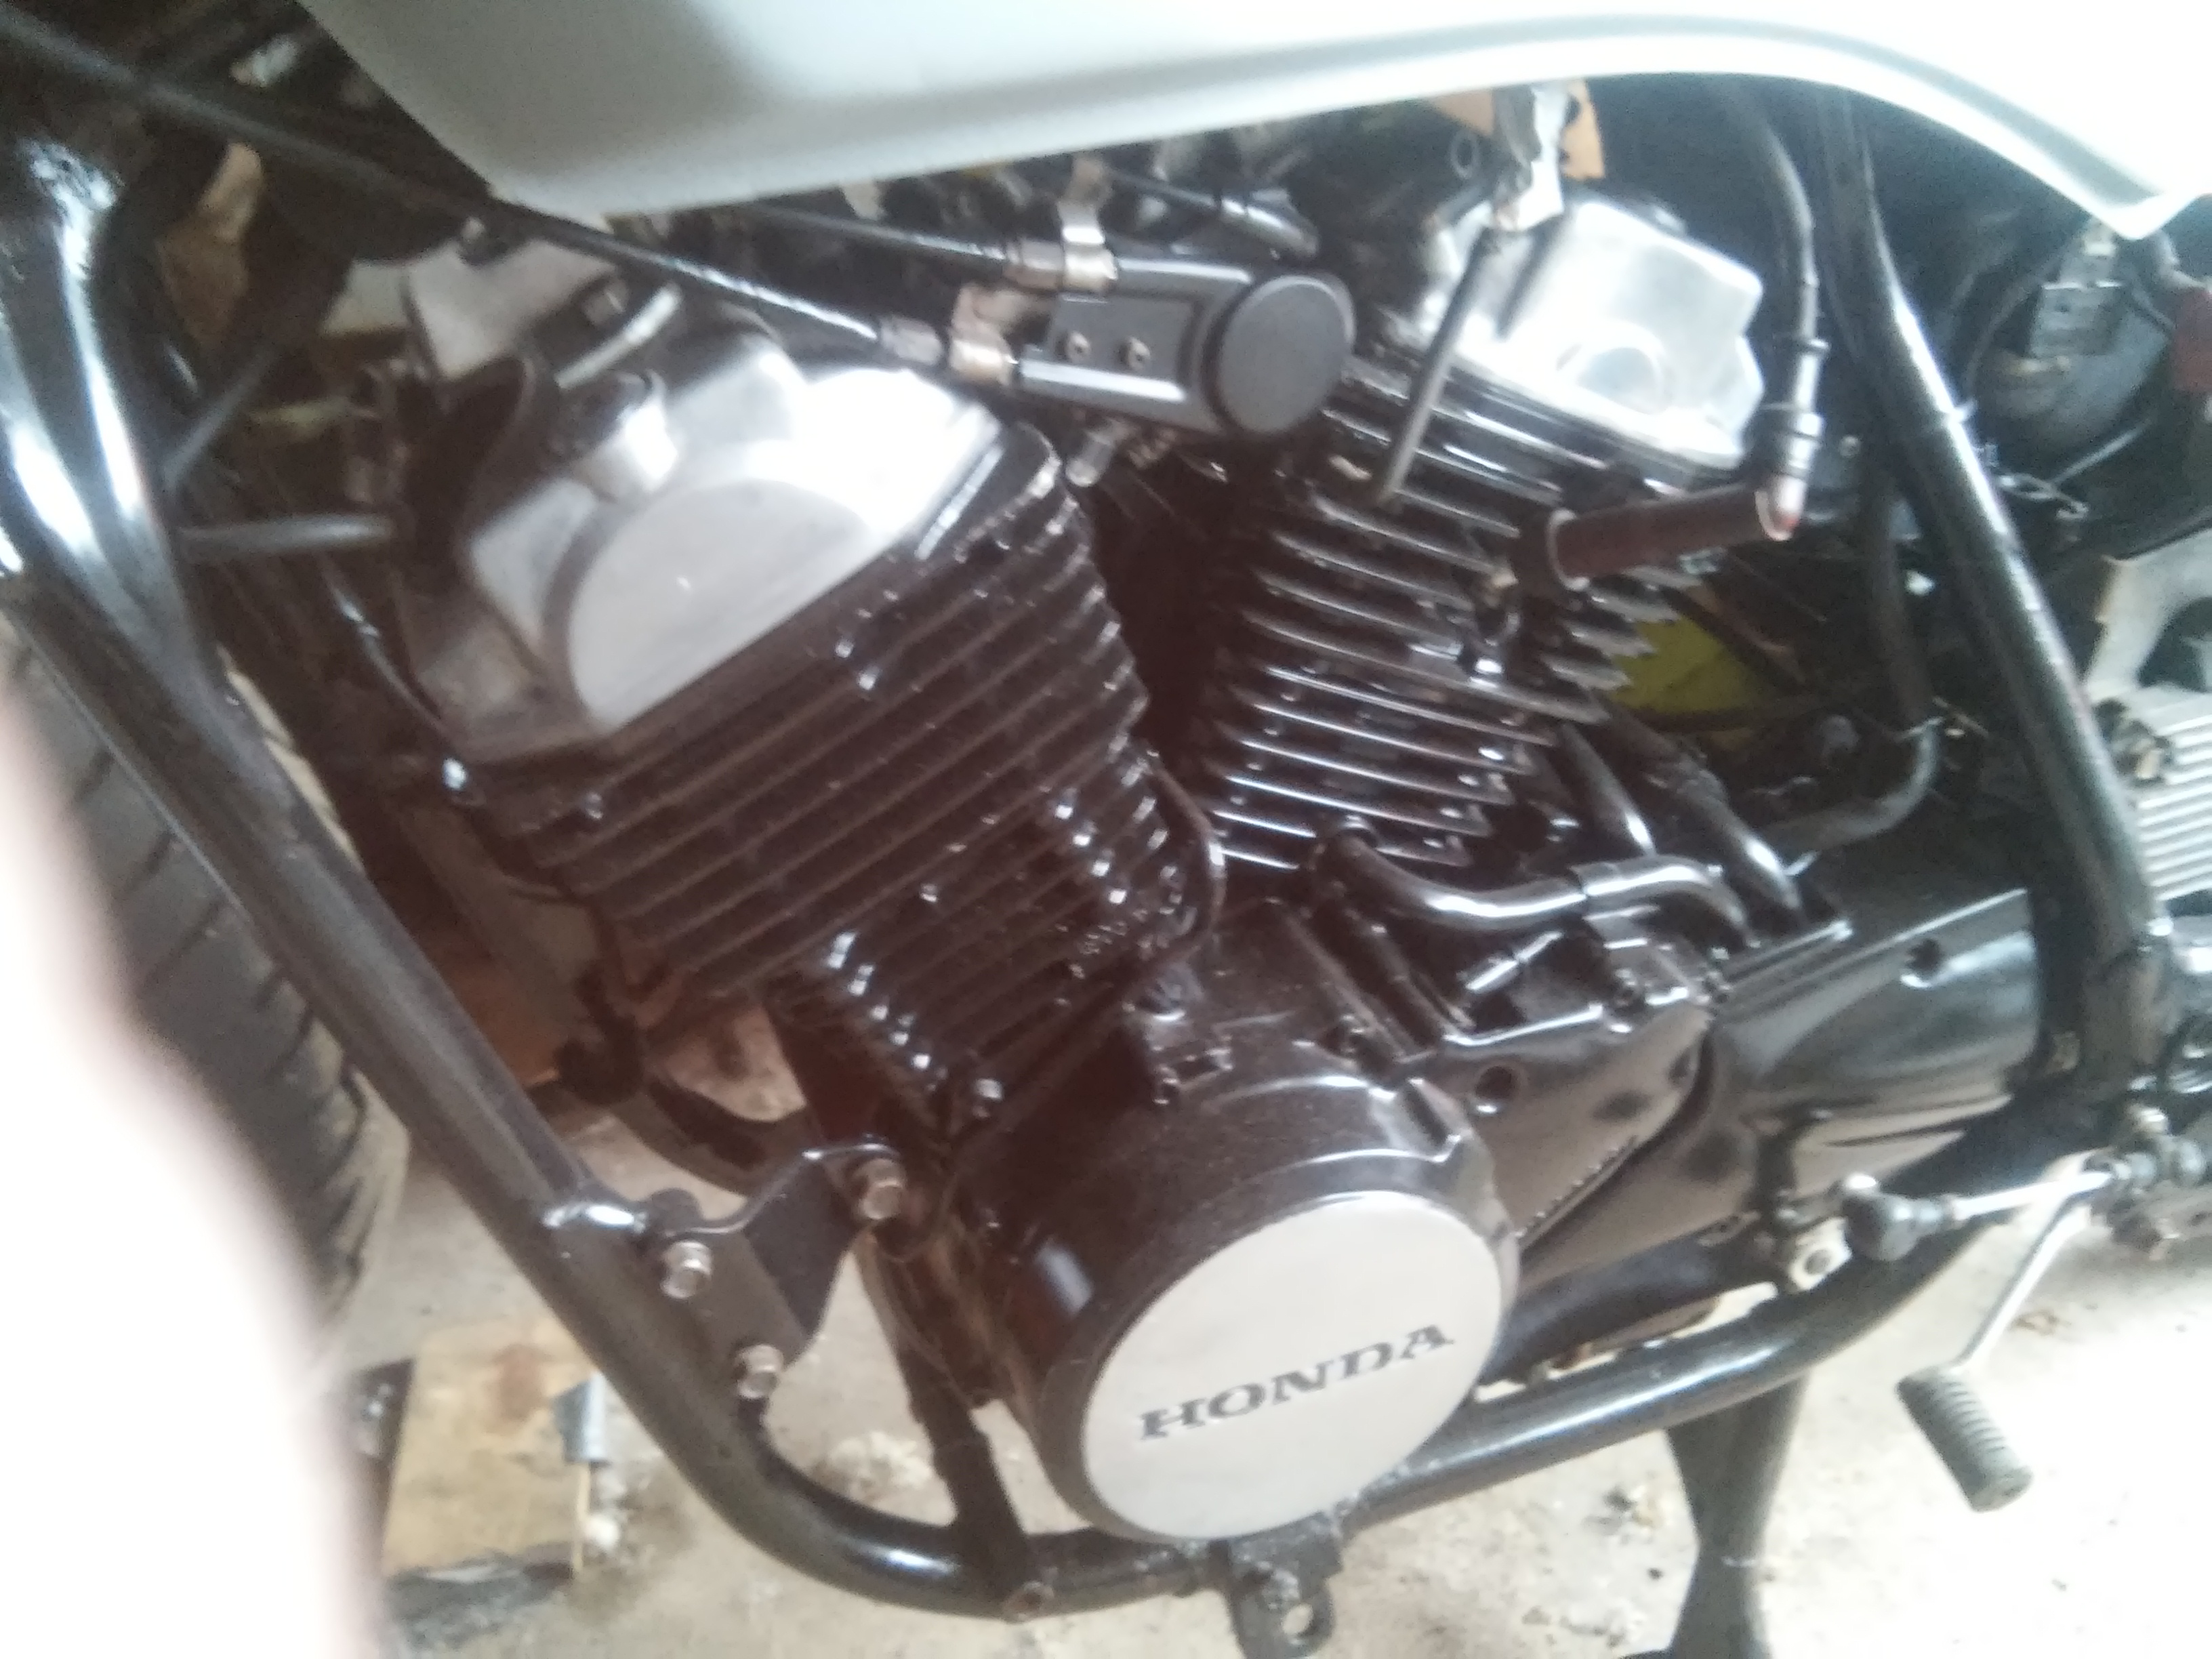
Those of you that know me, know I love recommissioning old motorcycles. It pains me to see old bikes just left to rot, and over the years I’ve rebuilt more than a few. Some with very minimal effort as ‘survivor’ bikes, others as custom projects, and even a couple of concourse rebuilds. I love the process of taking what is just rubbish to someone and riding it down the road with a smile after I have got it roadworthy again. There is a sense of satisfaction you feel that is hard to beat, when you know that what was a rusty pile of bits, will take you across the country and give you hours of fun.
Rescuing And Recommissioning Old Motorcycles Can Be Great Fun
I will try to describe a few easy steps to rescue old motorcycles. You would not believe how many motorcycles are ridden for 5-10 years and then just parked in a shed or barn to rust. In my experience, I’ve been able to save many of the old bikes I get, some with as little as £20-£50 in parts and a few hours of work. I’ve bought numerous bikes for less than £250, and ridden them thousands of miles. Hopefully this blog will give you the information you need to do the same.

First of all, any free bike is a good bike, even if you just use it for parts, but when it comes to actually buying a fixer-upper, you need to check a few things before you lay your money down. The three things that a bike needs to run are fuel, fire and compression. These questions are what you should ask yourself when you purchase a non-running machine.
Ask Yourself Some Questions About Recommissioning Old Motorcycles
1. Is it all there? Many broken parts can be repaired easily and cheaply, but missing parts must (usually) be replaced. Pay special attention to gauges, side covers, carbs, sprockets, and brakes. Lots of these parts can “walk away” while a bike is lying around unused.

2. Is the engine seized? A seized engine may or may not be a big deal. If you buy one with a seized engine, only pay scrap prices as the engine MAY (or may not) be ruined. Personally I steer clear of bad engines; I like to have a reasonably solid base to work from and prefer to avoid taking engines apart completely when I can. However, if you are confident with engines, it isn’t always an expensive job to repair them, but be careful, it can be. To rebuild a multi cylinder engine with a seized crank, pistons or damaged bores can start to get expensive very quickly.

3. Can you shift through the gears? Transmission work can be difficult, and involves splitting the crank case on most bikes. It is no small undertaking especially for the newbie, and can soon get expensive.
4. Does it have compression? If you can kick it over (or crank it), check for compression. If the compression is good on all cylinders and the movement feels smooth, there is a good chance you will have an engine that will run without any major work
5. Consider parts availability when buying, some classic and semi-classic bikes have devout almost cult followings, which can make things easier, but with some bikes parts can be expensive and almost impossible to find. Obviously having to have parts made can be a costly and difficult exercise.
Things Aren’t Always Easy
Many manufacturers use generic parts for many of their bikes, so brake master cylinders callipers regulators and starter motors may well be available from other bikes from the same era. Do your research, there is no such thing as a perfect bike, some are notoriously reliable, whereas others are notoriously difficult to work on, making even the simplest jobs a long task. I will always remember the day a mechanic I knew stormed in with a red face after just buying a first generation VFR750. “2 days! He shouted, 2 days to change the bl#%dy spark plugs!!!” most of that was spent removing and replacing bodywork tank and air filter to simply get to the plugs.
From personal experience, my Triumph Daytona 955i has ‘36 different Triumph Special Tools’. For 1 bike!!! Some of them are completely ridiculous too, and the job would be much better done by a standard, generic part. Remember, especially with a lot of new bikes, making them hard to maintain and increasing service and parts cost is how the factory make money. You can consider many other things, from initial cost to potential resale value, but above all, you need to love the idea of riding it. That is what will make the rebuild both easier and more satisfying.

So, you’ve been out, found you’re gem in the rough, and are ready to start. Now you have your new “baby”, there are a few simple things to check. These steps will get most old clunkers up and running again.
Where To Start?
Power
1. How’s the battery? Put it on a charger, or replace if necessary. Check the fluid level in the battery and top up with DISTILLED water, or battery acid. Put it on a trickle charge (I use the 2-amp setting). If the battery won’t charge to at least 75%, get a new one. When the battery is charged, carefully (+/pos to +/pos, and -/neg to -/neg) reinstall it in the bike.
Note: Some bikes will run without a battery, others will not. Some will run for a while (without a battery), but do serious damage to your charging/ignition. So do the research, get a proper workshop manual if you can.

Cleaning The Fuel Tank
2. Drain and safely dispose of the old fuel. Check the condition of the tank. If tank is not rusty/dirty, simply go to checking fuel lines. After draining the fuel tank, check the tank for rust. Light surface rust is no big deal, but flaky/crumbly rust is a problem. If you have a rust problem, drop a handful of mild steel washers into the tank. Fill it ½ full of soapy water (I use Traffic Film Remover).
Put the lid on and shake vigorously turning it as you do it. Drain the liquid. Repeat this process with fresh water (no soap) until the water that drains out, runs clear. You can retrieve the washers with a strong magnet taped or zip-tied to a paint stirrer or ruler. Some tanks have a lip that extends a good 1″ or so down thru the tank opening. This can make it impossible to shake stuff out of it by holding the tank upside down. You can do this whole process with a pressure washer or even a garden hose with good pressure, but last of all, fill with very hot water and empty completely, then leave the tank somewhere warm, so every last drop of water evaporates.
Check And Renew Fuel Lines
3. Check fuel line to make sure it does not leak. If it leaks, replace with new line. When replacing, make sure hose clamps from petcock to filter, and filter to carb are in place and sufficiently tight.

Clean Filters
4. Check the fuel filter. If fuel doesn’t flow through (or flows slowly), try rinsing it out. You can use carb cleaner (sprayed in the reverse direction of the fuel flow) to clean most filters. Be careful and wear eye protection! If the filter can’t be flushed, replace with a new one.
Check Petcock
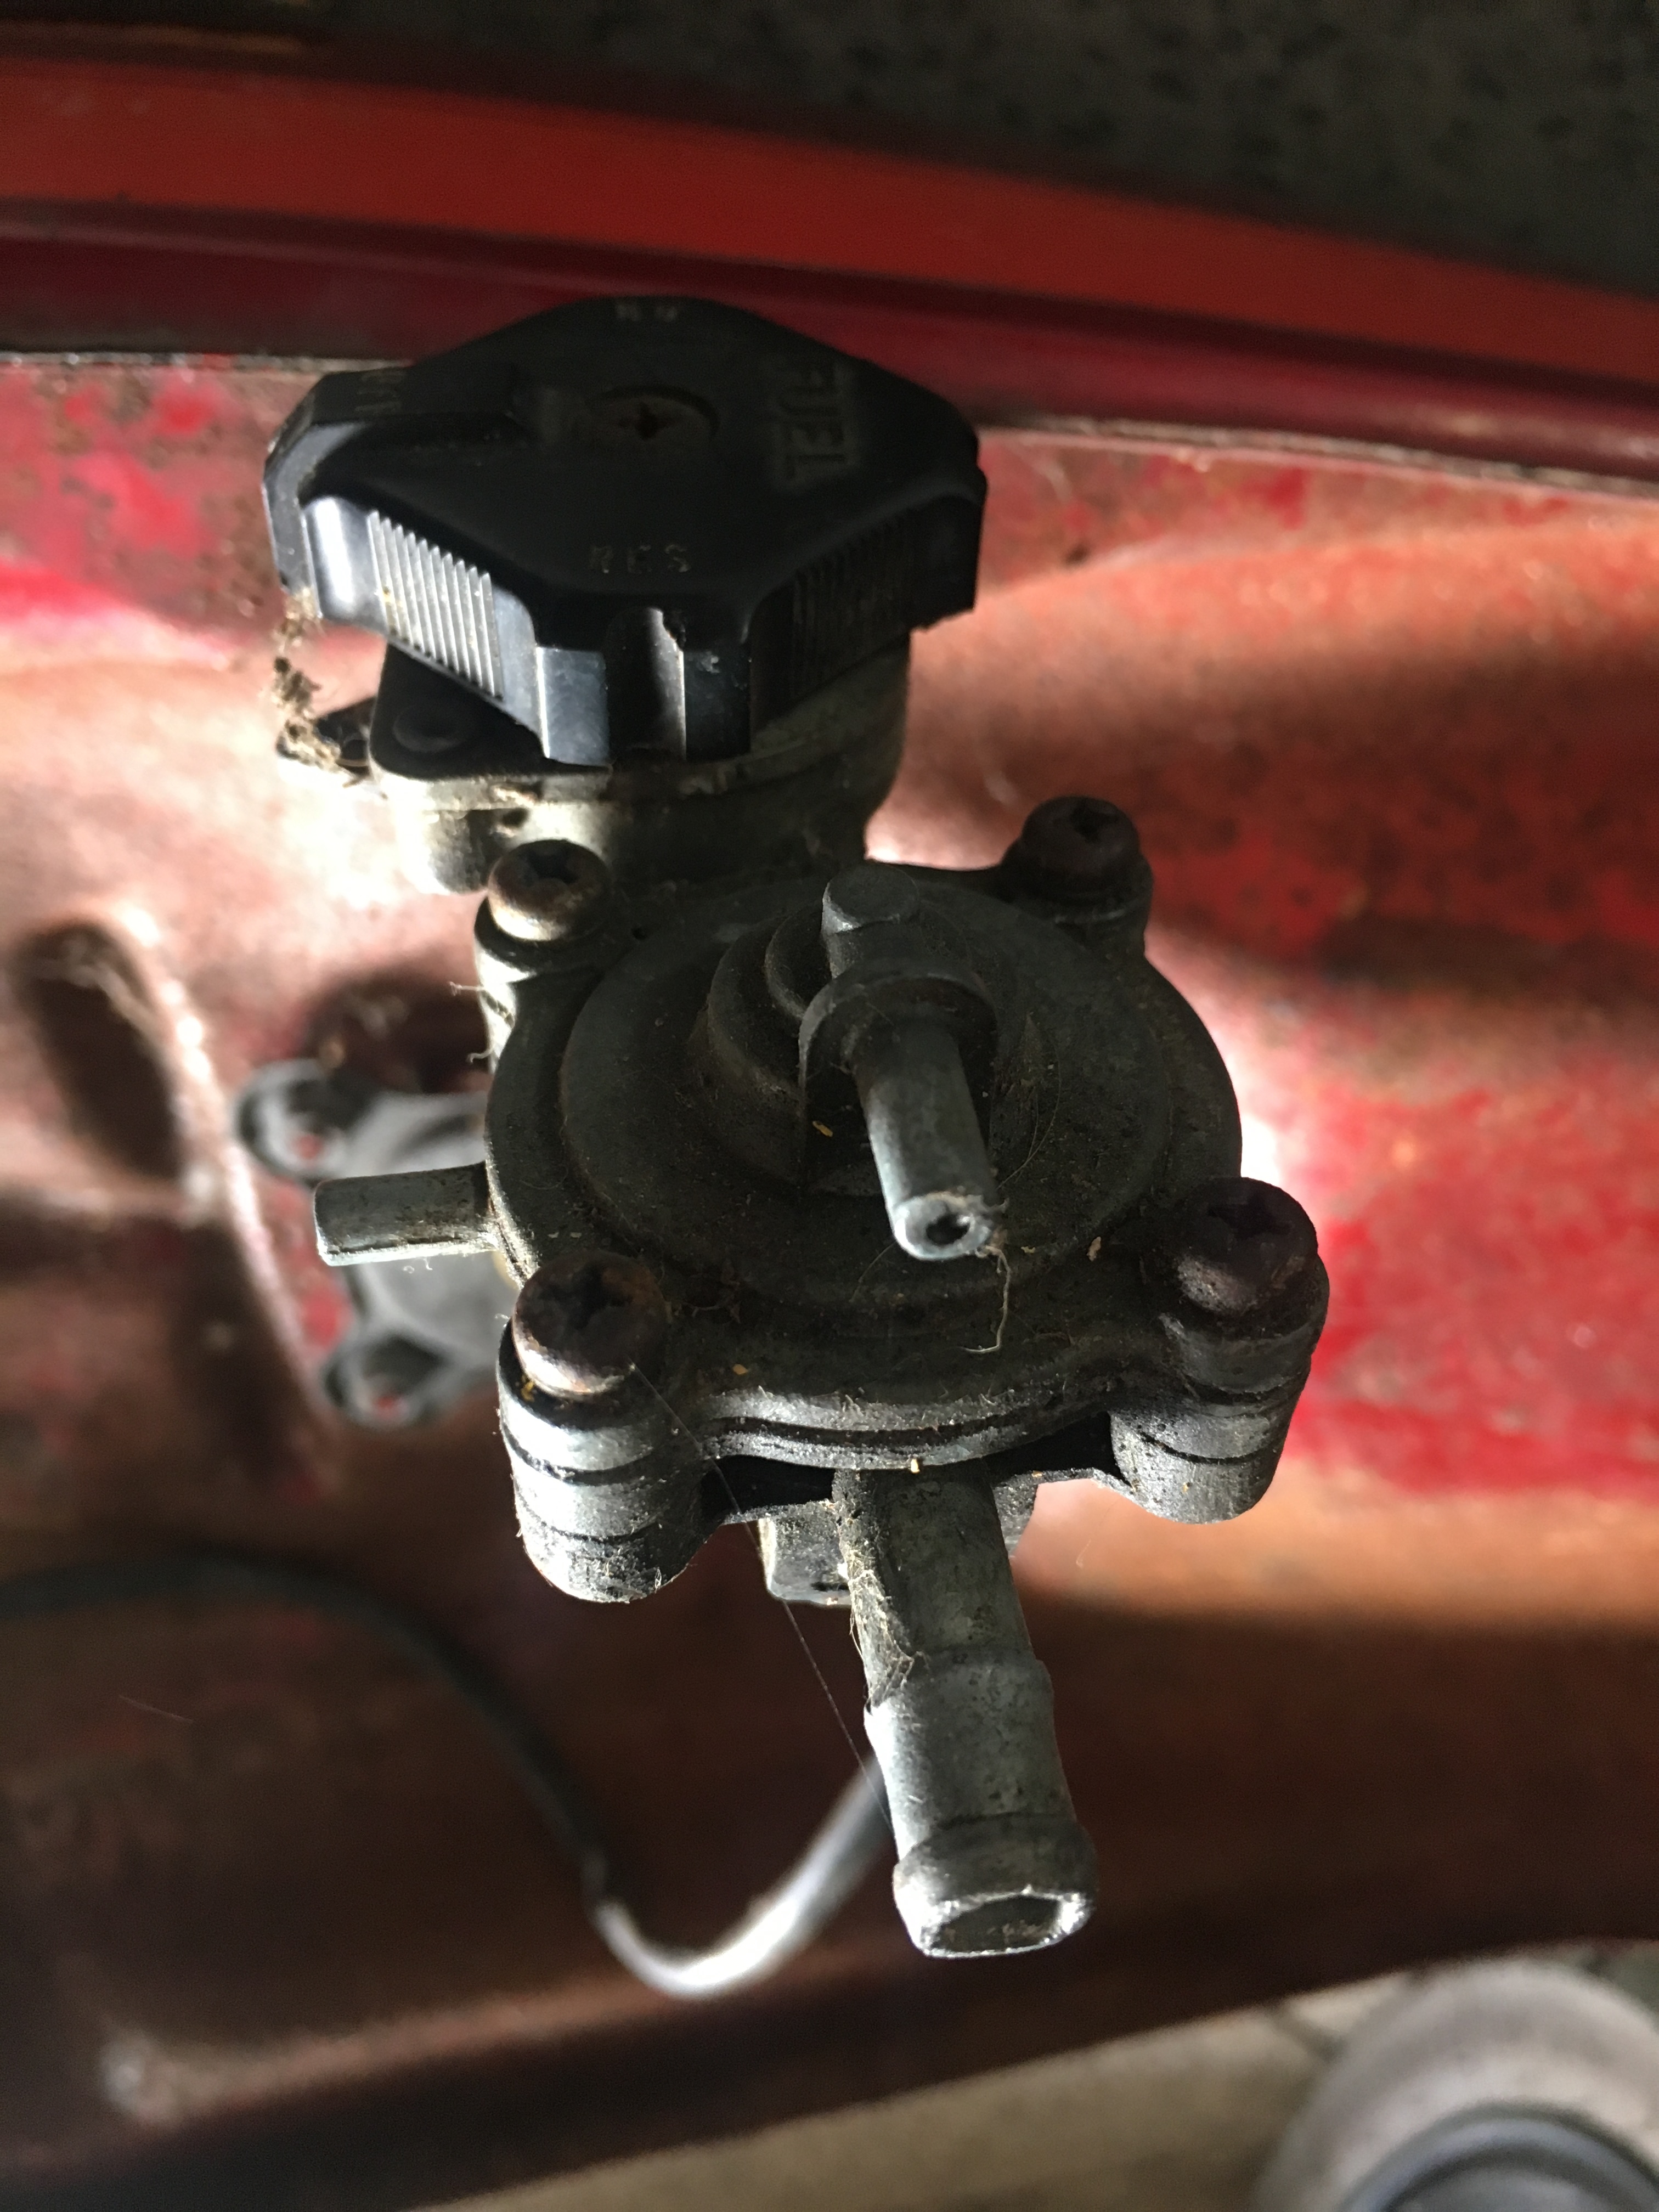
5. Check the petcock/fuel valve. If fuel will not flow through it (with the valve turned “on”, “res” or “pri”), remove it from the tank. Clean it, and any filter that might be attached, thoroughly with carb cleaner. Make sure fuel will run through it, and reinstall it on the tank. Note: Be careful not to damage any gaskets during this process. Replace any damaged gaskets/seals. Some petcock/fuel valves have a vacuum line running to them, and fuel won’t flow unless there’s a vacuum. Hook up a vacuum pump to test in those cases.

Cleaning The Carbs
6. Clean the carb(s). Most motorcycle carbs are fairly simple. Don’t be intimidated. It takes a bit of experience to tune them properly, but not too much just to get them “almost” right. Gently remove the carb from the bike. Take care not to damage the rubber intake boot. Remove the bowl and clean thoroughly. Take out the float and carefully clean it. Remove the needle/fuel valve. Carefully clean both the opening and the needle itself, checking for wear on the conical (pointy) end of the needle valve.
Be Careful
Carefully remove and clean any jets (both inside the bowl, on the body of the carb, and in the throat of the carb) one by one, making sure none are mixed up. Carb spray, compressed air and tiny micro brushes are your friends, try to avoid using hard wire or needles, especially on jets, as the brass is easily damaged. Carefully replace these items in reverse order, making sure that the float travels freely and opens and closes the needle/valve properly (set the float height as per the manual). The top of the carb can be different on different bikes, some will have simple cable operated throttles, and some will have CV carbs with a rubber diaphragm on the top of the slide. More details can be found here https://theveggiebiker.wordpress.com/2019/02/03/motorcycle-carburetor-basics/

Keep Parts From Each Carb Seperate
Remove the cap and slide/piston, being careful not to damage the rubber diaphragm in CV carbs. Clean all exposed parts (both the venturi and the exposed inner parts of the carb body). With multiple carbs, keep the components for each carb separate; don’t mix parts from one carb to another. Reassemble in the reverse order. Carefully reinstall carb(s), once again taking care not to damage the intake boot.

7. Check the spark plug(s). Remove the plug. Check its condition. Worn, sooty, fouled, or damaged plugs can be an indicator of other engine problems. You can usually clean an old plug. A wire brush, carb cleaner, compressed air and emery cloth do a good job. If you can’t save the old plug, replace it with a new one. Make sure it is the correct one for your machine and gap it to manufacturer’s specs.
Is there A Spark?
Make sure the plug will fire. This is really a test of your entire ignition system. With the plug-wire attached to the plug and the plug spark end touched to the engine, (But the plug not installed in the head), turn your ignition system on, make sure kill-switch is set on run, and give the bike a kick/crank. If everything is right, you’ll see the plug make a fat blue spark. If there’s no spark, work backwards (from the plug) through the electrical system, until you find a short, a bad connection, or a non functioning component. Often on old bikes, the points need to be cleaned. I’d use emery (not sand) paper and spray-on electrical contact cleaner. When your electric problems are solved, you are nearly there.
Checking Compression
8. While you have the plug out, it’s a good time to check for compression. The best way is with a compression tester. A basic way is to place your thumb or finger tightly over the empty plug hole. Have a friend slowly crank the engine. You’ll feel the pressure, and it should forcefully escape around your finger, but this won’t show minor compression differences, and compression testers are fairly cheap these days. If you don’t have pressure, it could simply be a sticky valve or badly adjusted cam followers, but you may have to prepare for a ring-job, valve-job or worse!
If you have spark at the plug, and good compression, you’re almost there! Install the plug, connect the wire, and you’re ready to start the bike.

Before You Start Recommissioning Any Old Motorcycles
Change the oil, oil filter, coolant and any other fluids. Very often a bike that’s been in storage will have such deteriorated fluids, that it can damage your bike very quickly
Ok, you’ve got compression. You’ve got fresh gas getting from the tank to the carb. You’ve got spark at the plug. You’ve changed all the fluids. It’s time to start the bike.
Step By Step
1. Turn the key to “On”.
2. Turn the kill-switch to “Run”.
3. Put the bike in neutral. (On some bikes, you’ll want to
pull in the clutch as well.)
4. Put the choke in the start/choke/on position.
5. If it’s a kick-start bike, there needs to be
pressure/resistance at the top of the kick stroke. You may have
to slowly rotate the kick-start arm till you find pressure, then
release to allow the kick-start arm to come all the way to the
upright position.
5. Give it a kick, or on an electric-start hit the start button.

It may well be that it doesn’t start first time, be patient, but don’t just leave the engine turning over or flood it. By now you will be more familiar with the bike, so take it akk step by step. When you do get the engine started, it is time to start looking at and checking the rest of the bike, from fork seals to brake callipers. Some systems will survive long periods of storage better than others, just take your time and enjoy the process.
Join Us
Why not join us at the BAREBONESMC forum on Facebook. It gives you FREE access to a helpful group of riders and mechanics from across the world. The group began in the UK but has now become a worldwide phenomenon. So whether you are buying, selling, or simply want advice, there really is no better place to go for anything motorcycle.
Why not take a look around the main store too? You will find the best collection of Biker TShirts, Masks and other products available anywhere. Custom work always considered.
There are more Motorcycle Tales in this blog too. Take a look around the blog for some fantastic articles about adventures maintenance and motorcycle reviews . All available here BAREBONESMC.COM
Designed by Bikers for Bikers.
Any questions just email me at [email protected]
